Common Features Customization
1. Login
This section shows the way to configure all Sign In features: Wordpress, Google, Apple, Facebook, Email.
https://timothelariviere.com/2017/09/01/authenticate-users-through-google-with-xamarin-auth/
Go to https://console.developers.google.com > Create new project
Once it’s done, go to “Credentials” and configure the “OAuth consent screen”. You will need to set at least the “Product name shown to users”, otherwise Google won’t let you create keys for Android and iOS.
2. Multi-Languages
a. Mobile Side
XStore is multilingual supported, you can add any languages to the app. Language selection option is available under Application Settings screen. This app comes with 3 pre-made languages: English, French and Spanish with English by default. You can config the default language for first time launching the app.
How to change word or label in the app?
To change word or label, open the Languages > Texts > AppResources.code.resx file, find the word or label and make the change in Value column.
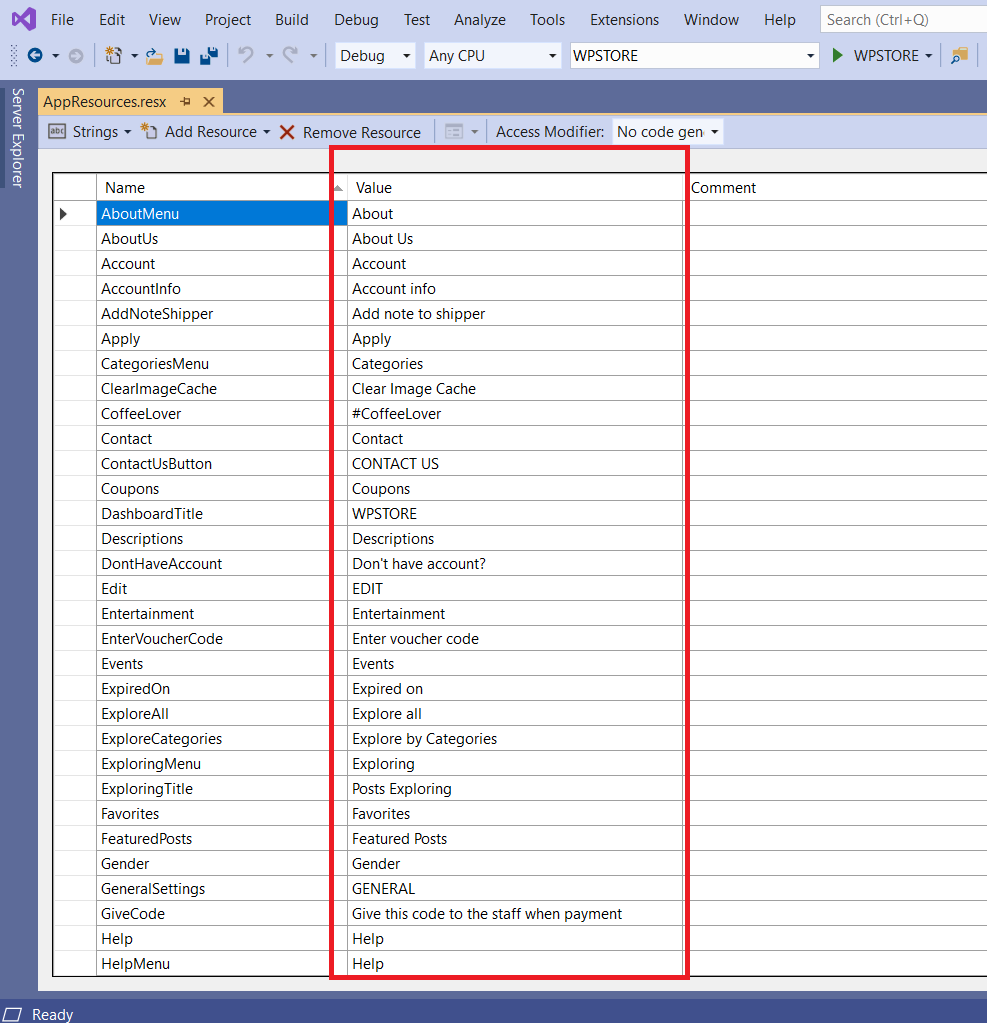
How to add new language to the app?
In order to add new language, simply add new resources file, with file name following format: AppResources.language-code.resx
For language code you can refer to this link http://www.lingoes.net/en/translator/langcode.htm
tip
You can copy the existing English resx file and named the file to above format then change the translation mentioned in step a above.
Go to AppSettings > Settings:
Insert new LanguageSelectItem row with Code and Name. This code add languages to selection list in Settings Screen.
To change app default language, simply replace the "en" code by the language code you wanted.
b. Wordpress side
Wordpress Plugins required On WooCommerce, to support for translating the product content (title, description..), it is required to install the following plugin:
- WPML 3.4 or above
- WPML String Translation 2.0 or above
- WPML Translation Management 2.2 or above
- WooCommerce Multilingual
- WPML to WP API : this API will support to change the product/title/category base on the select language from WPML plugin.
note
To learn more about WPML for WooCommerce, you can refer at https://wpml.org/documentation/related-projects/woocommerce-multilingual/
3. Push Notification
This section shows the way to configure the Push Notifications feature.
Push Notification for Android and iOS is performed and managed via Firebase Console.
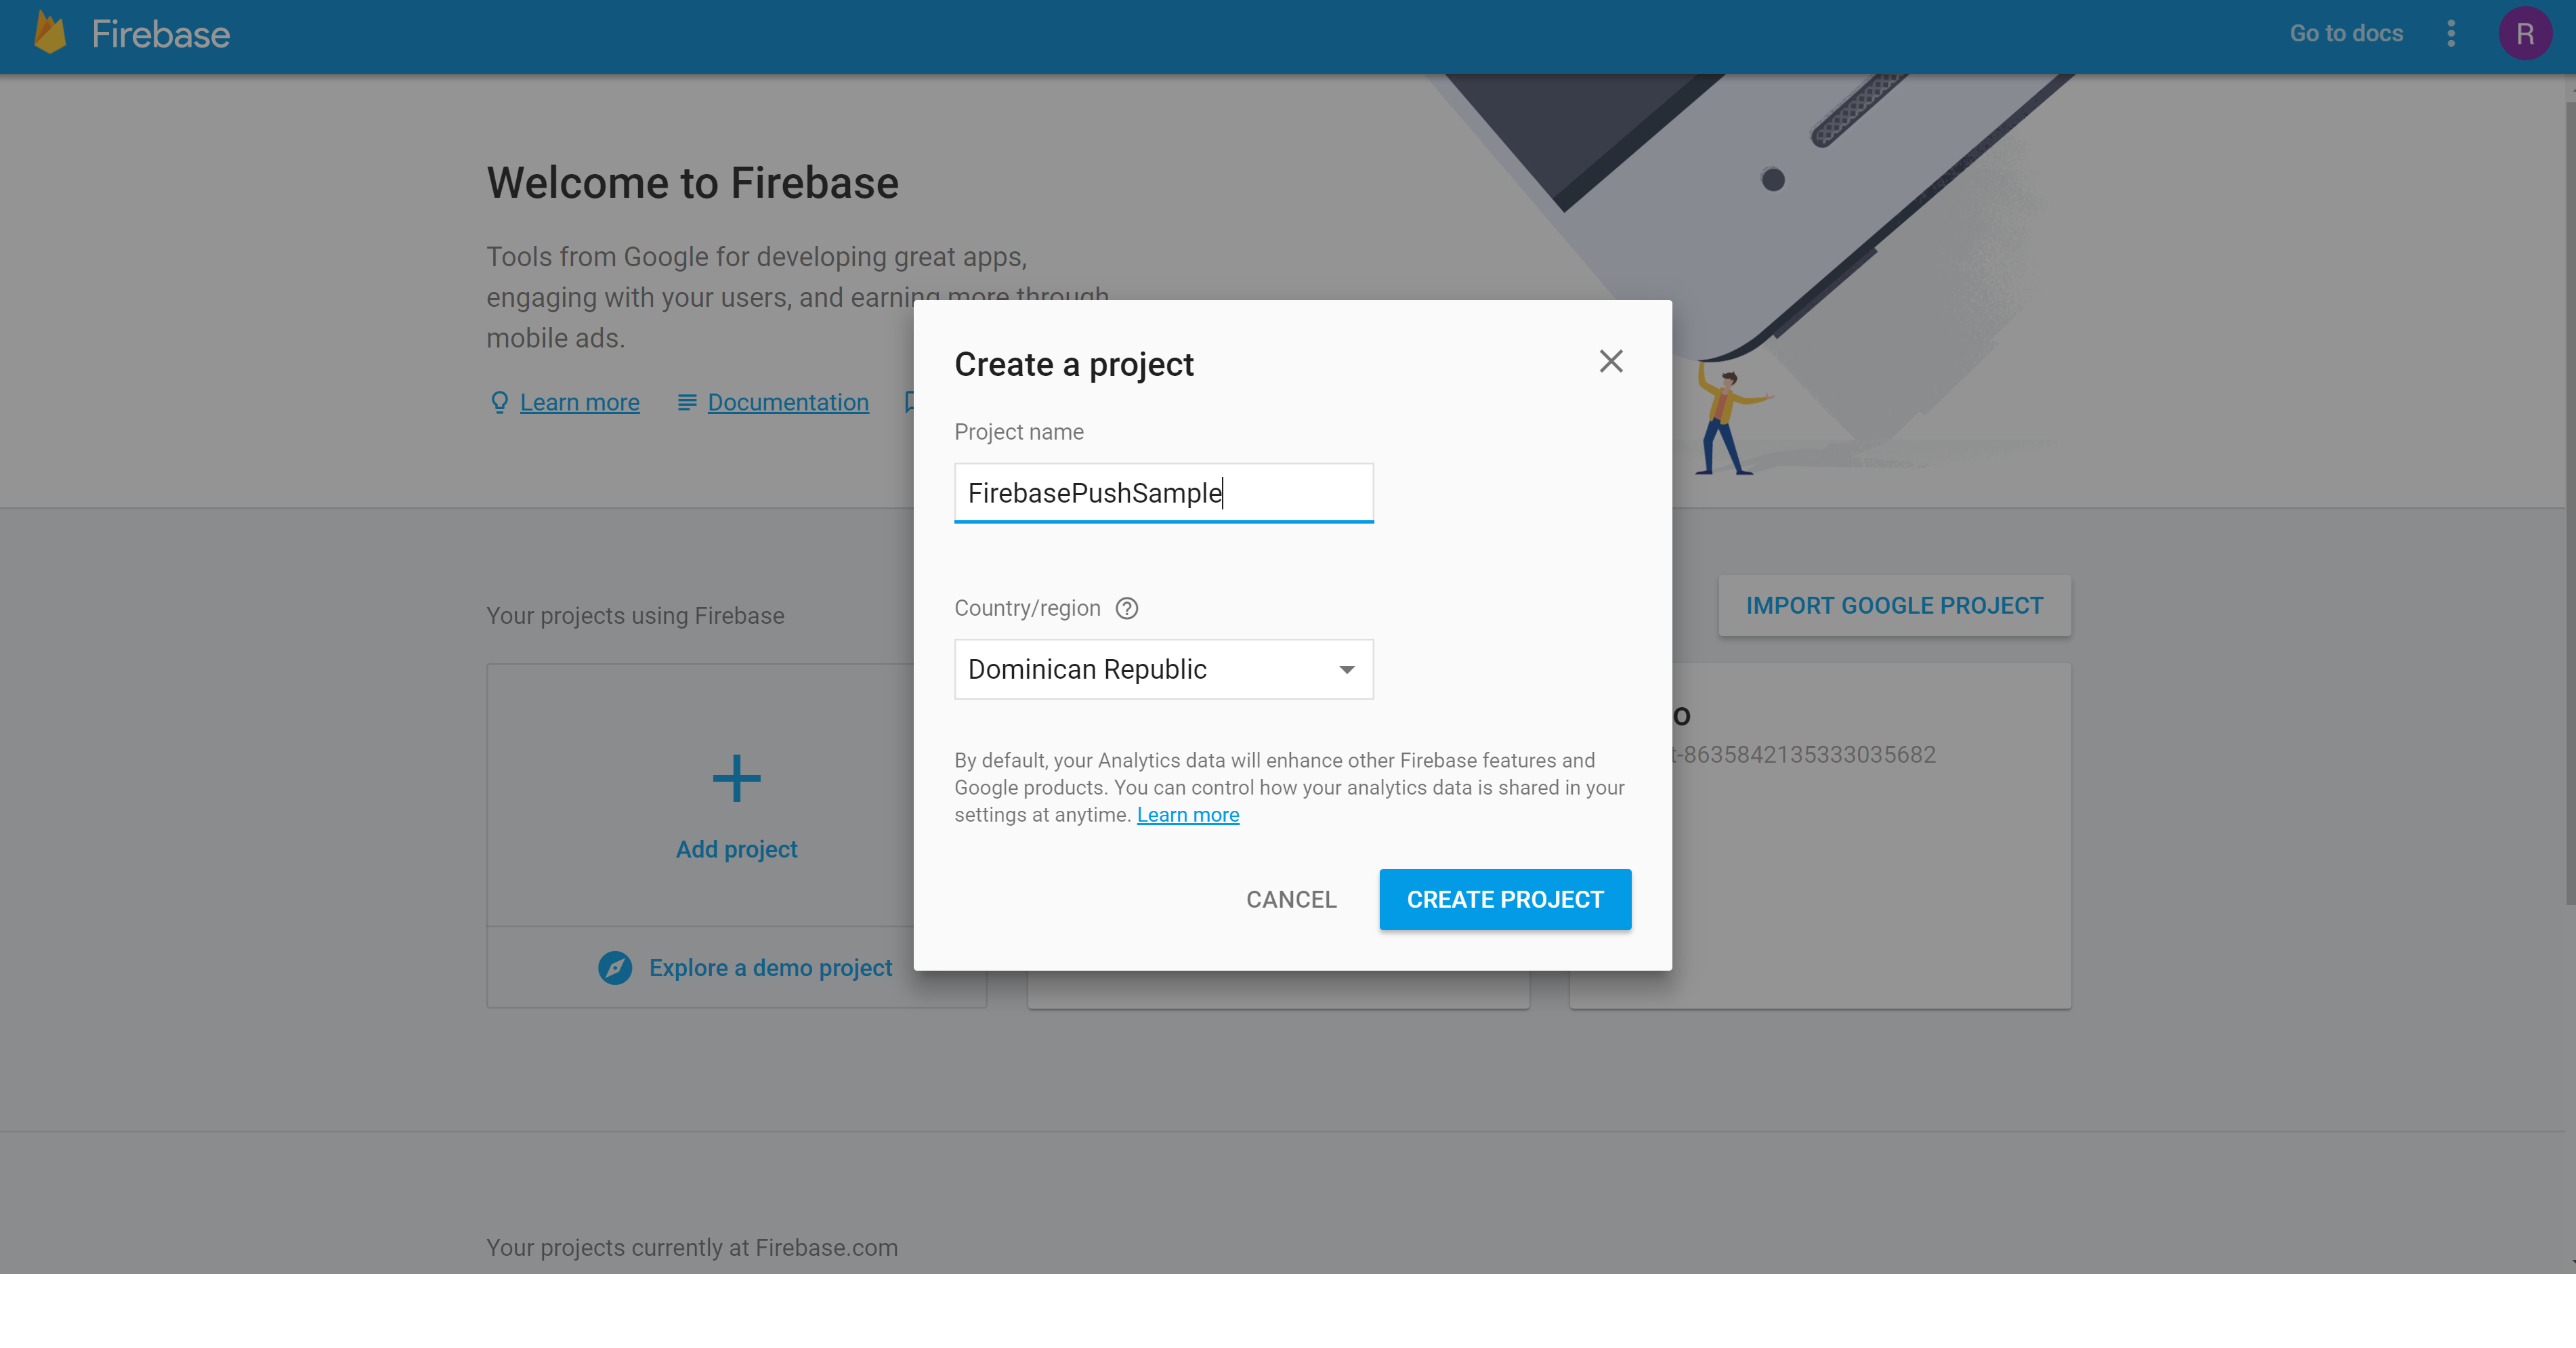
Firebase Setup
- Login to https://console.firebase.google.com and create a new project
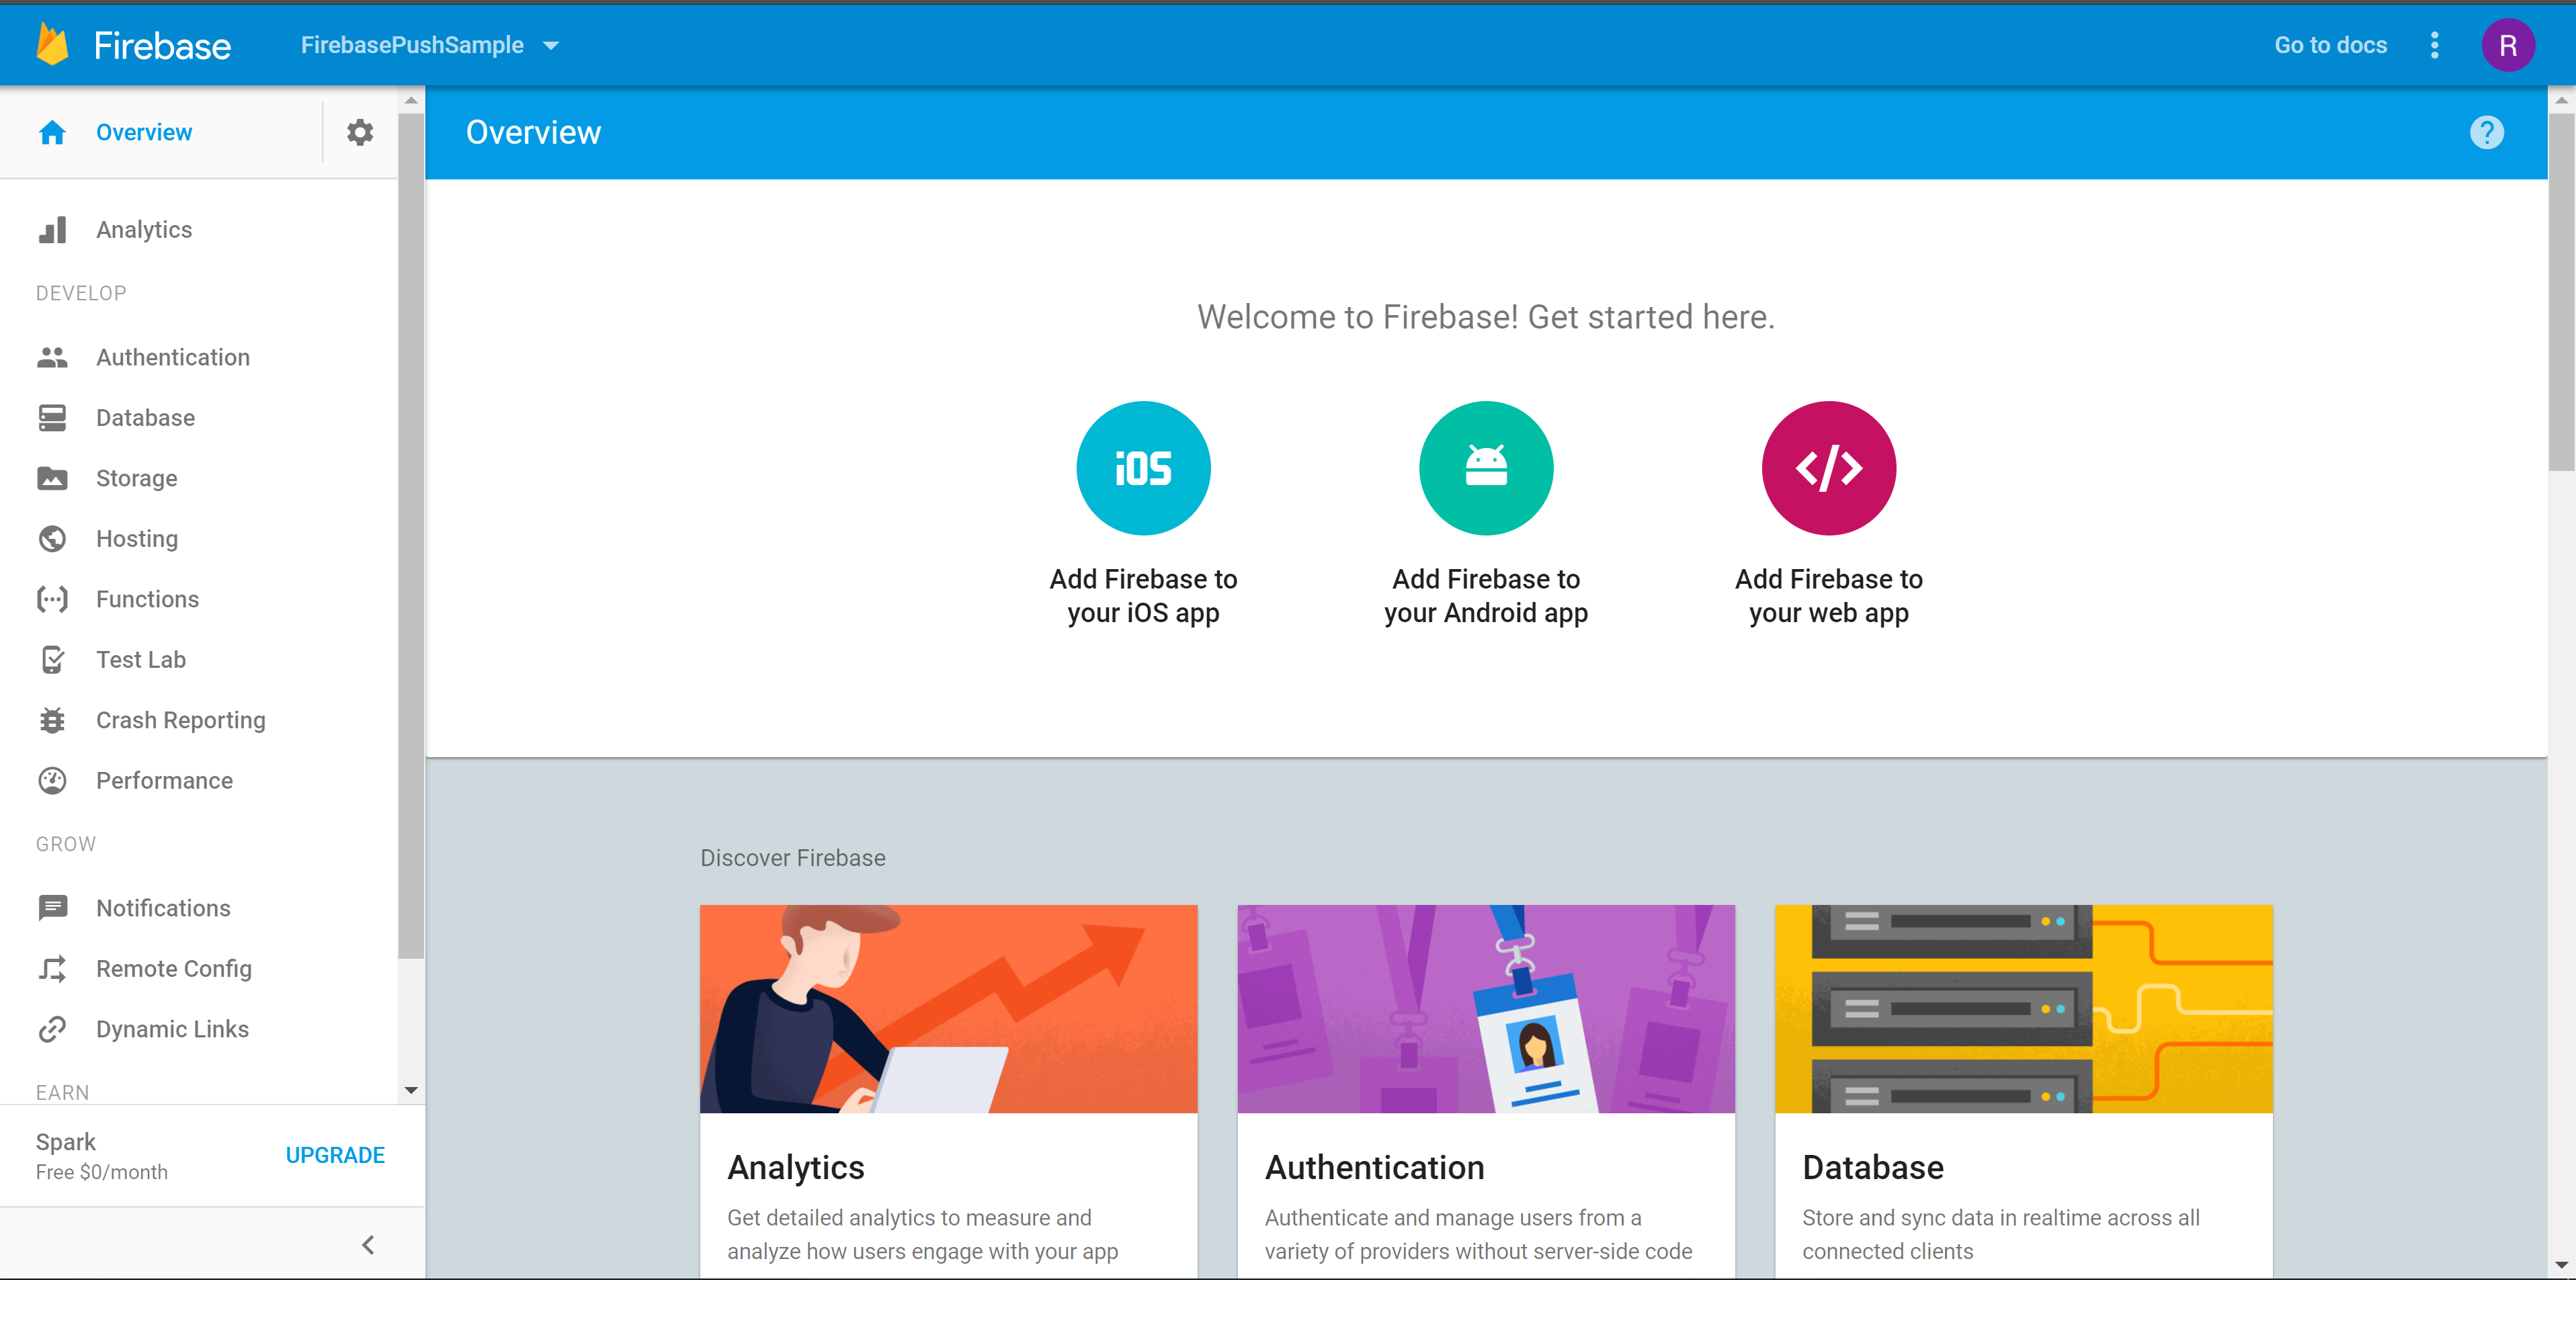
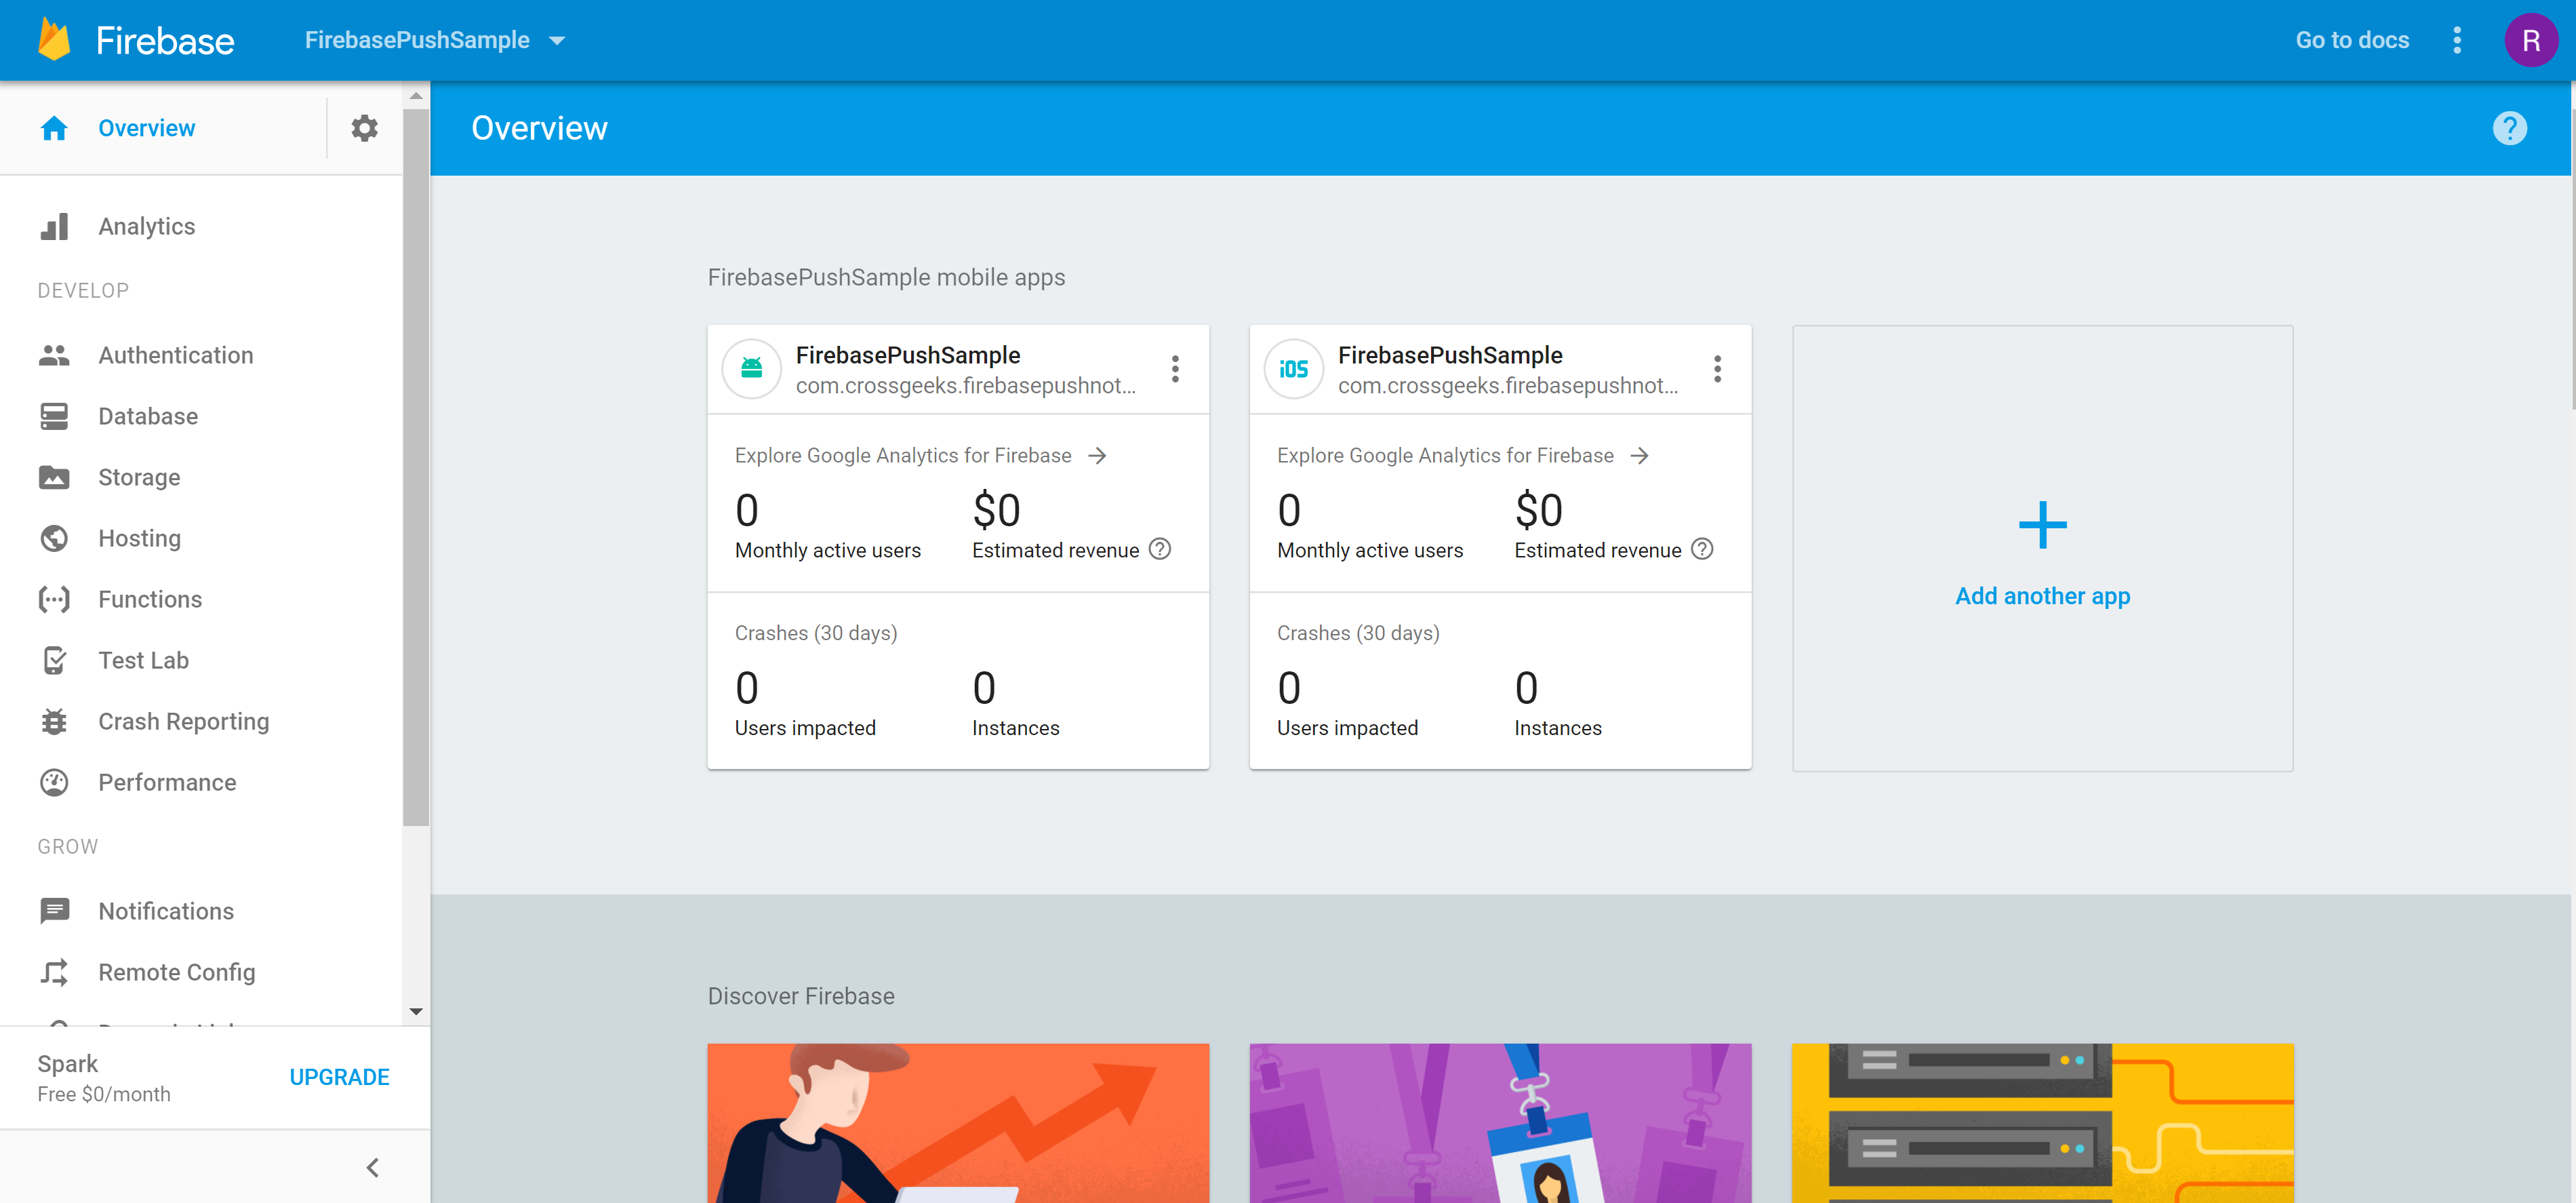
- After project is created you should see options to add Firebase to your iOS and Android apps
a. Android Firebase Setup
- Let's start adding firebase to our Android application. Package name must match your Android app package name.
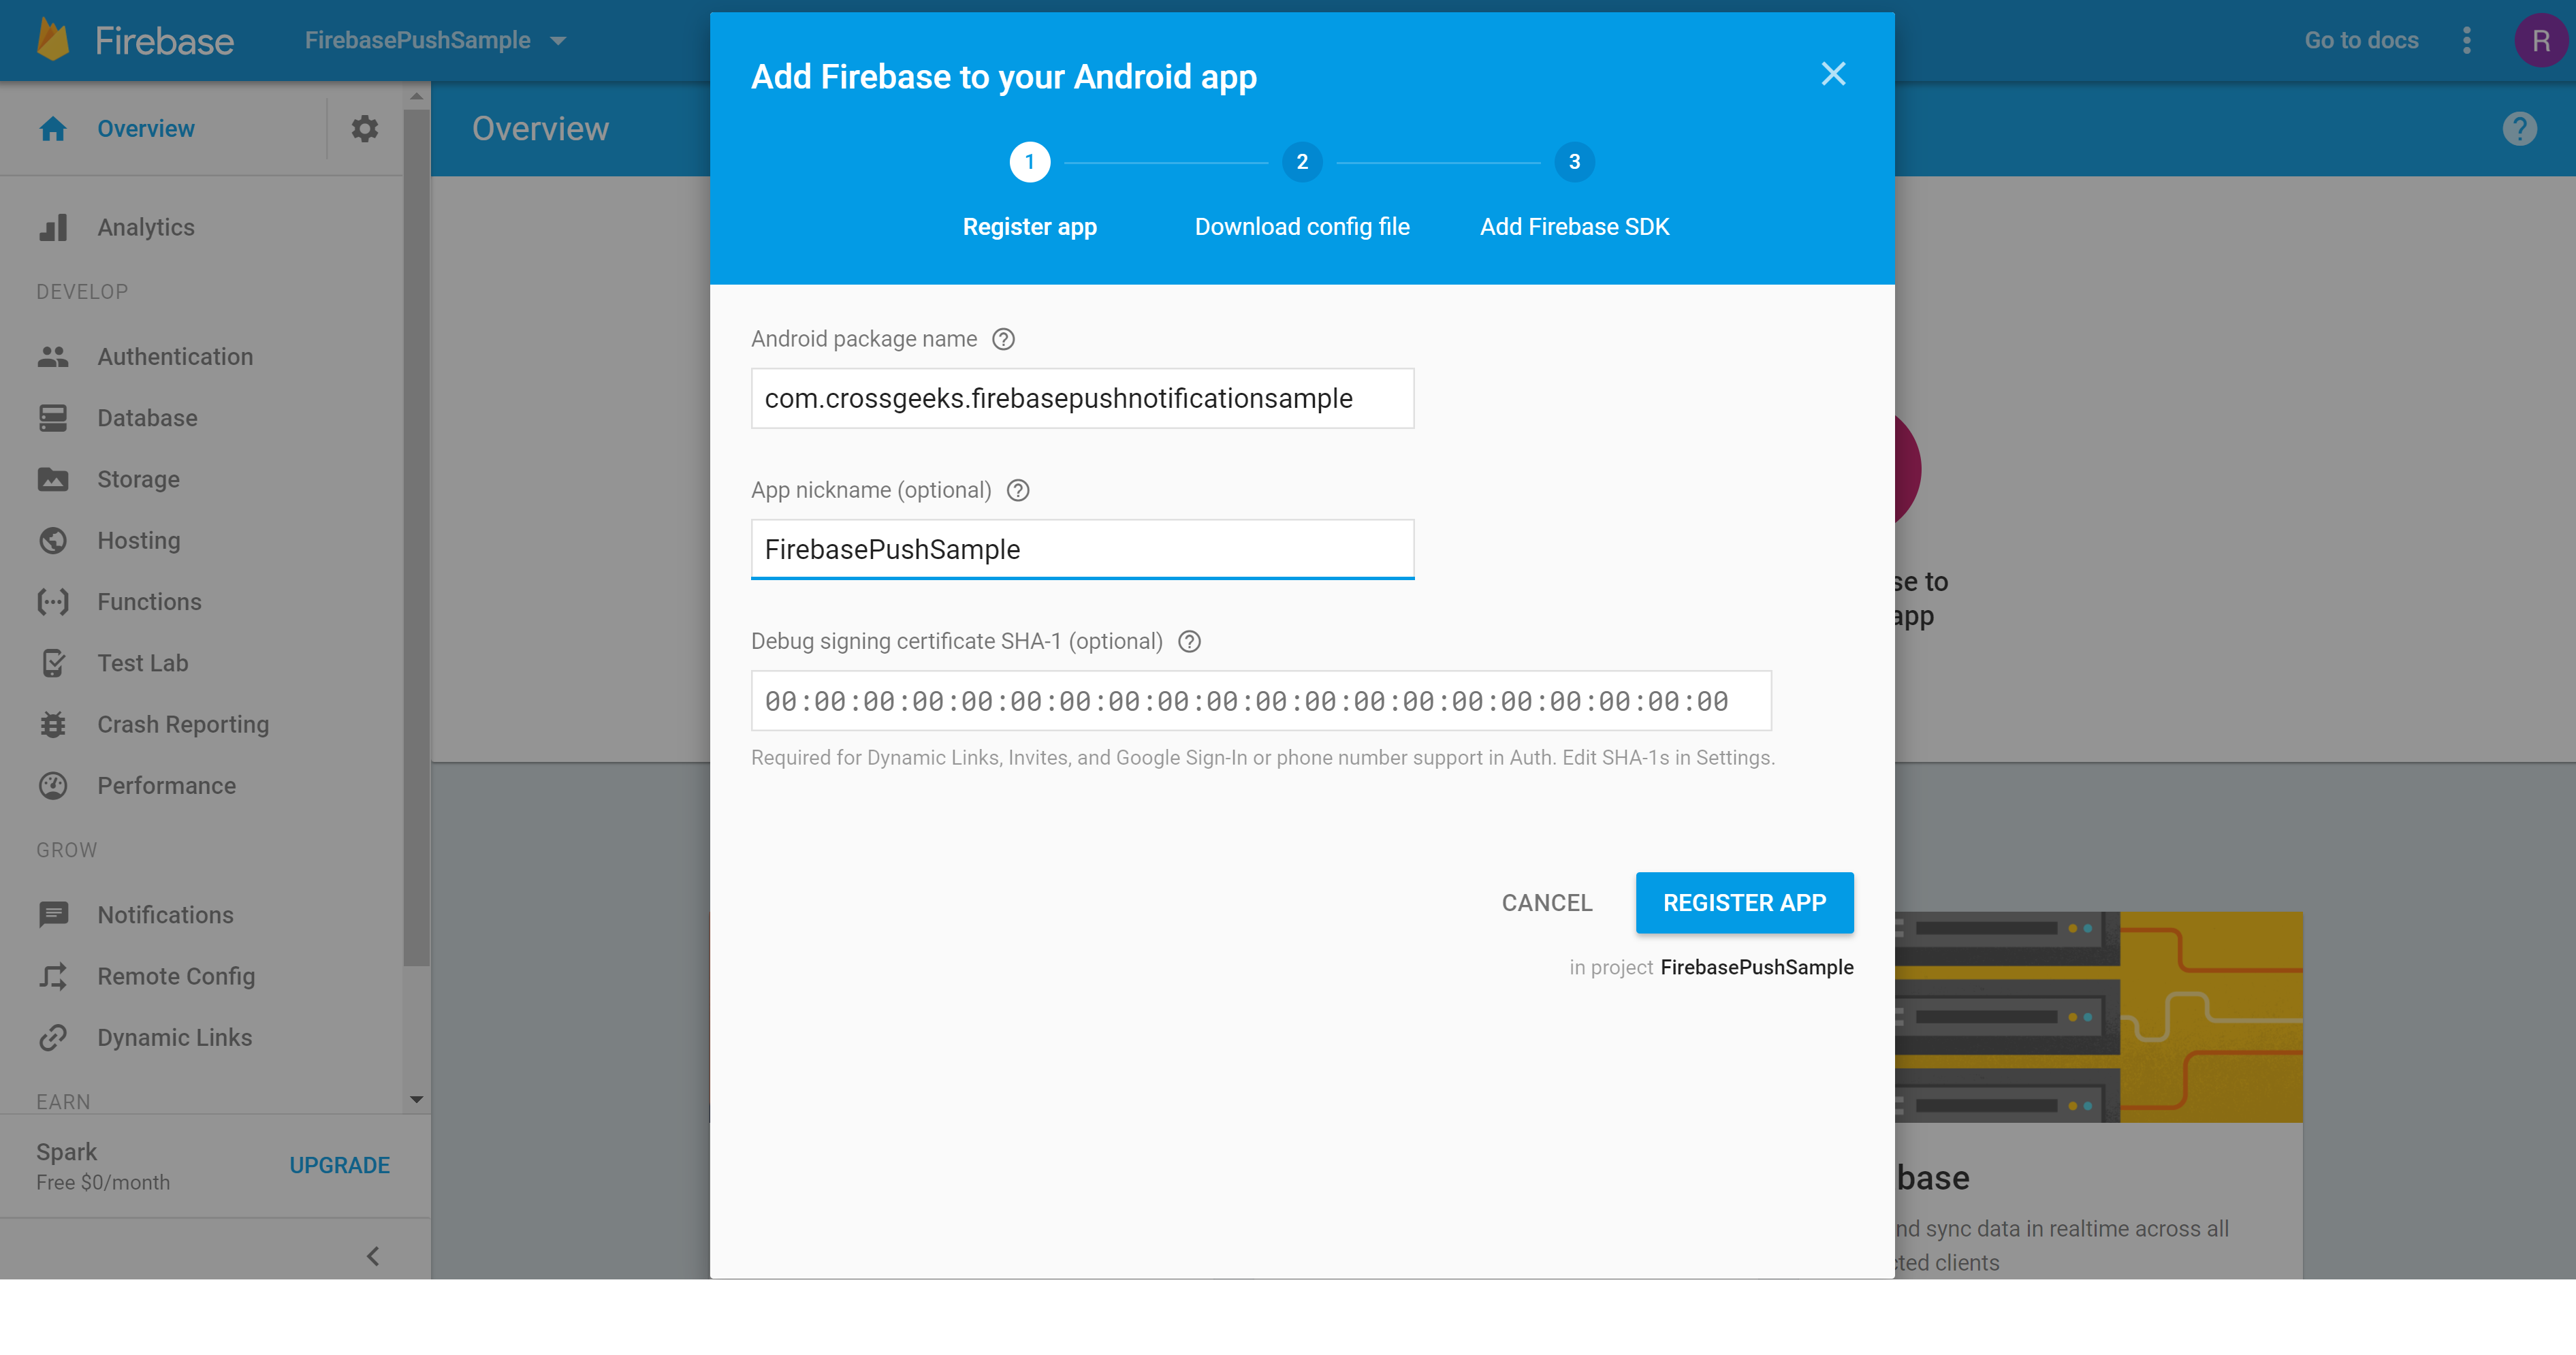
- Download the file google-services.json

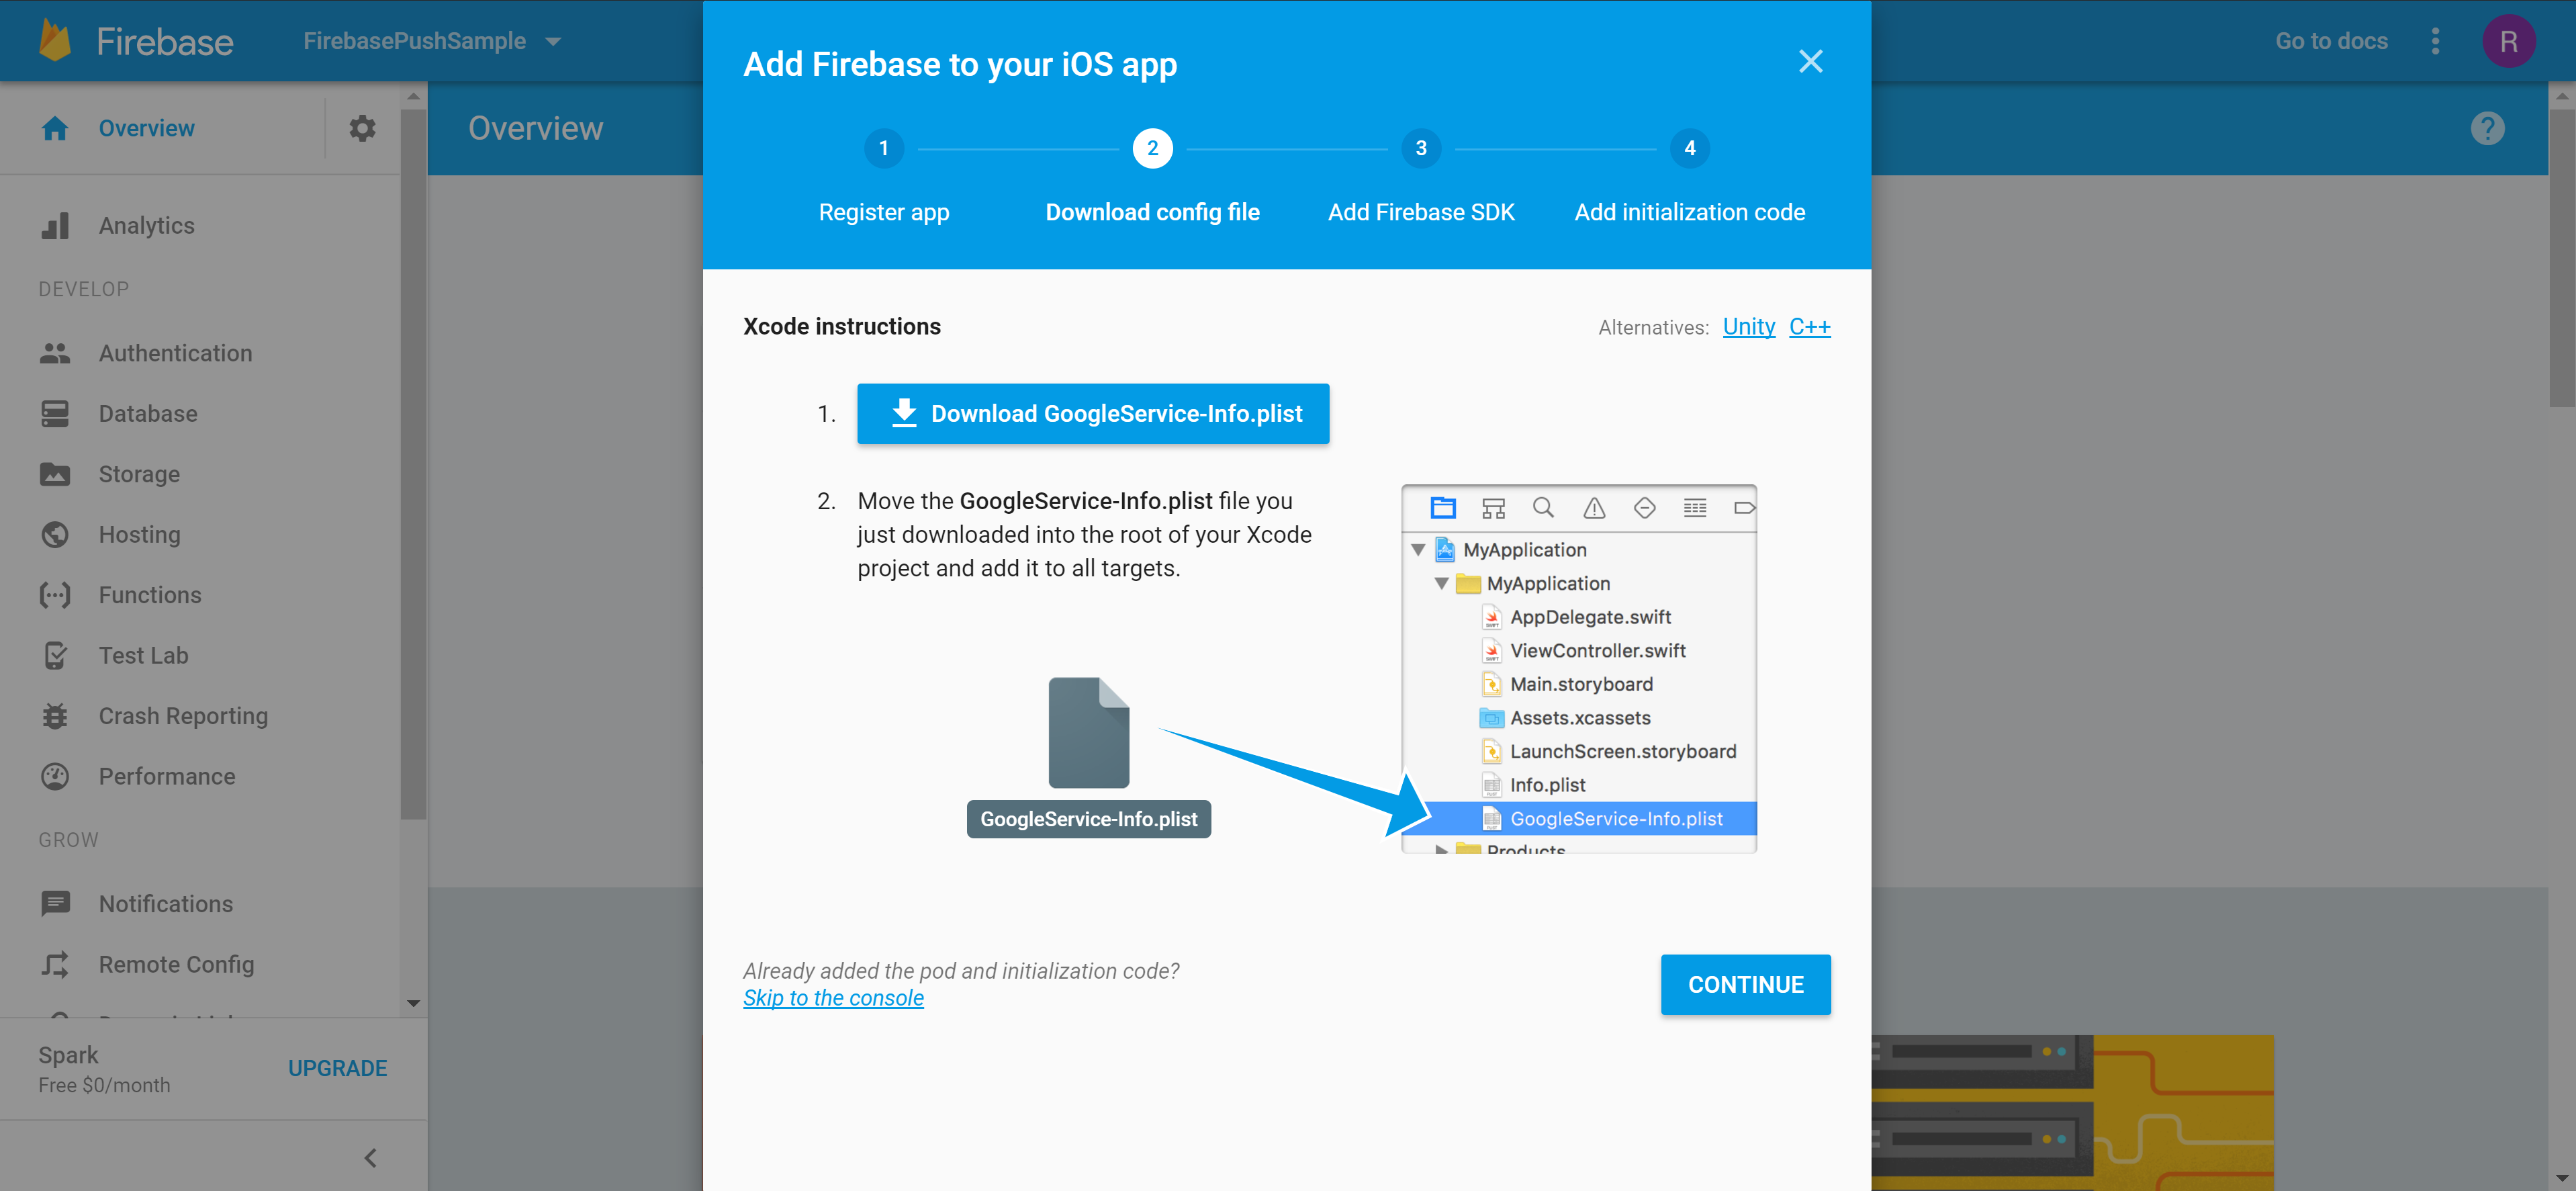
b. iOS Firebase Setup
- Add Firebase to iOS App. Bundle identifier must match your iOS app bundle identifier.

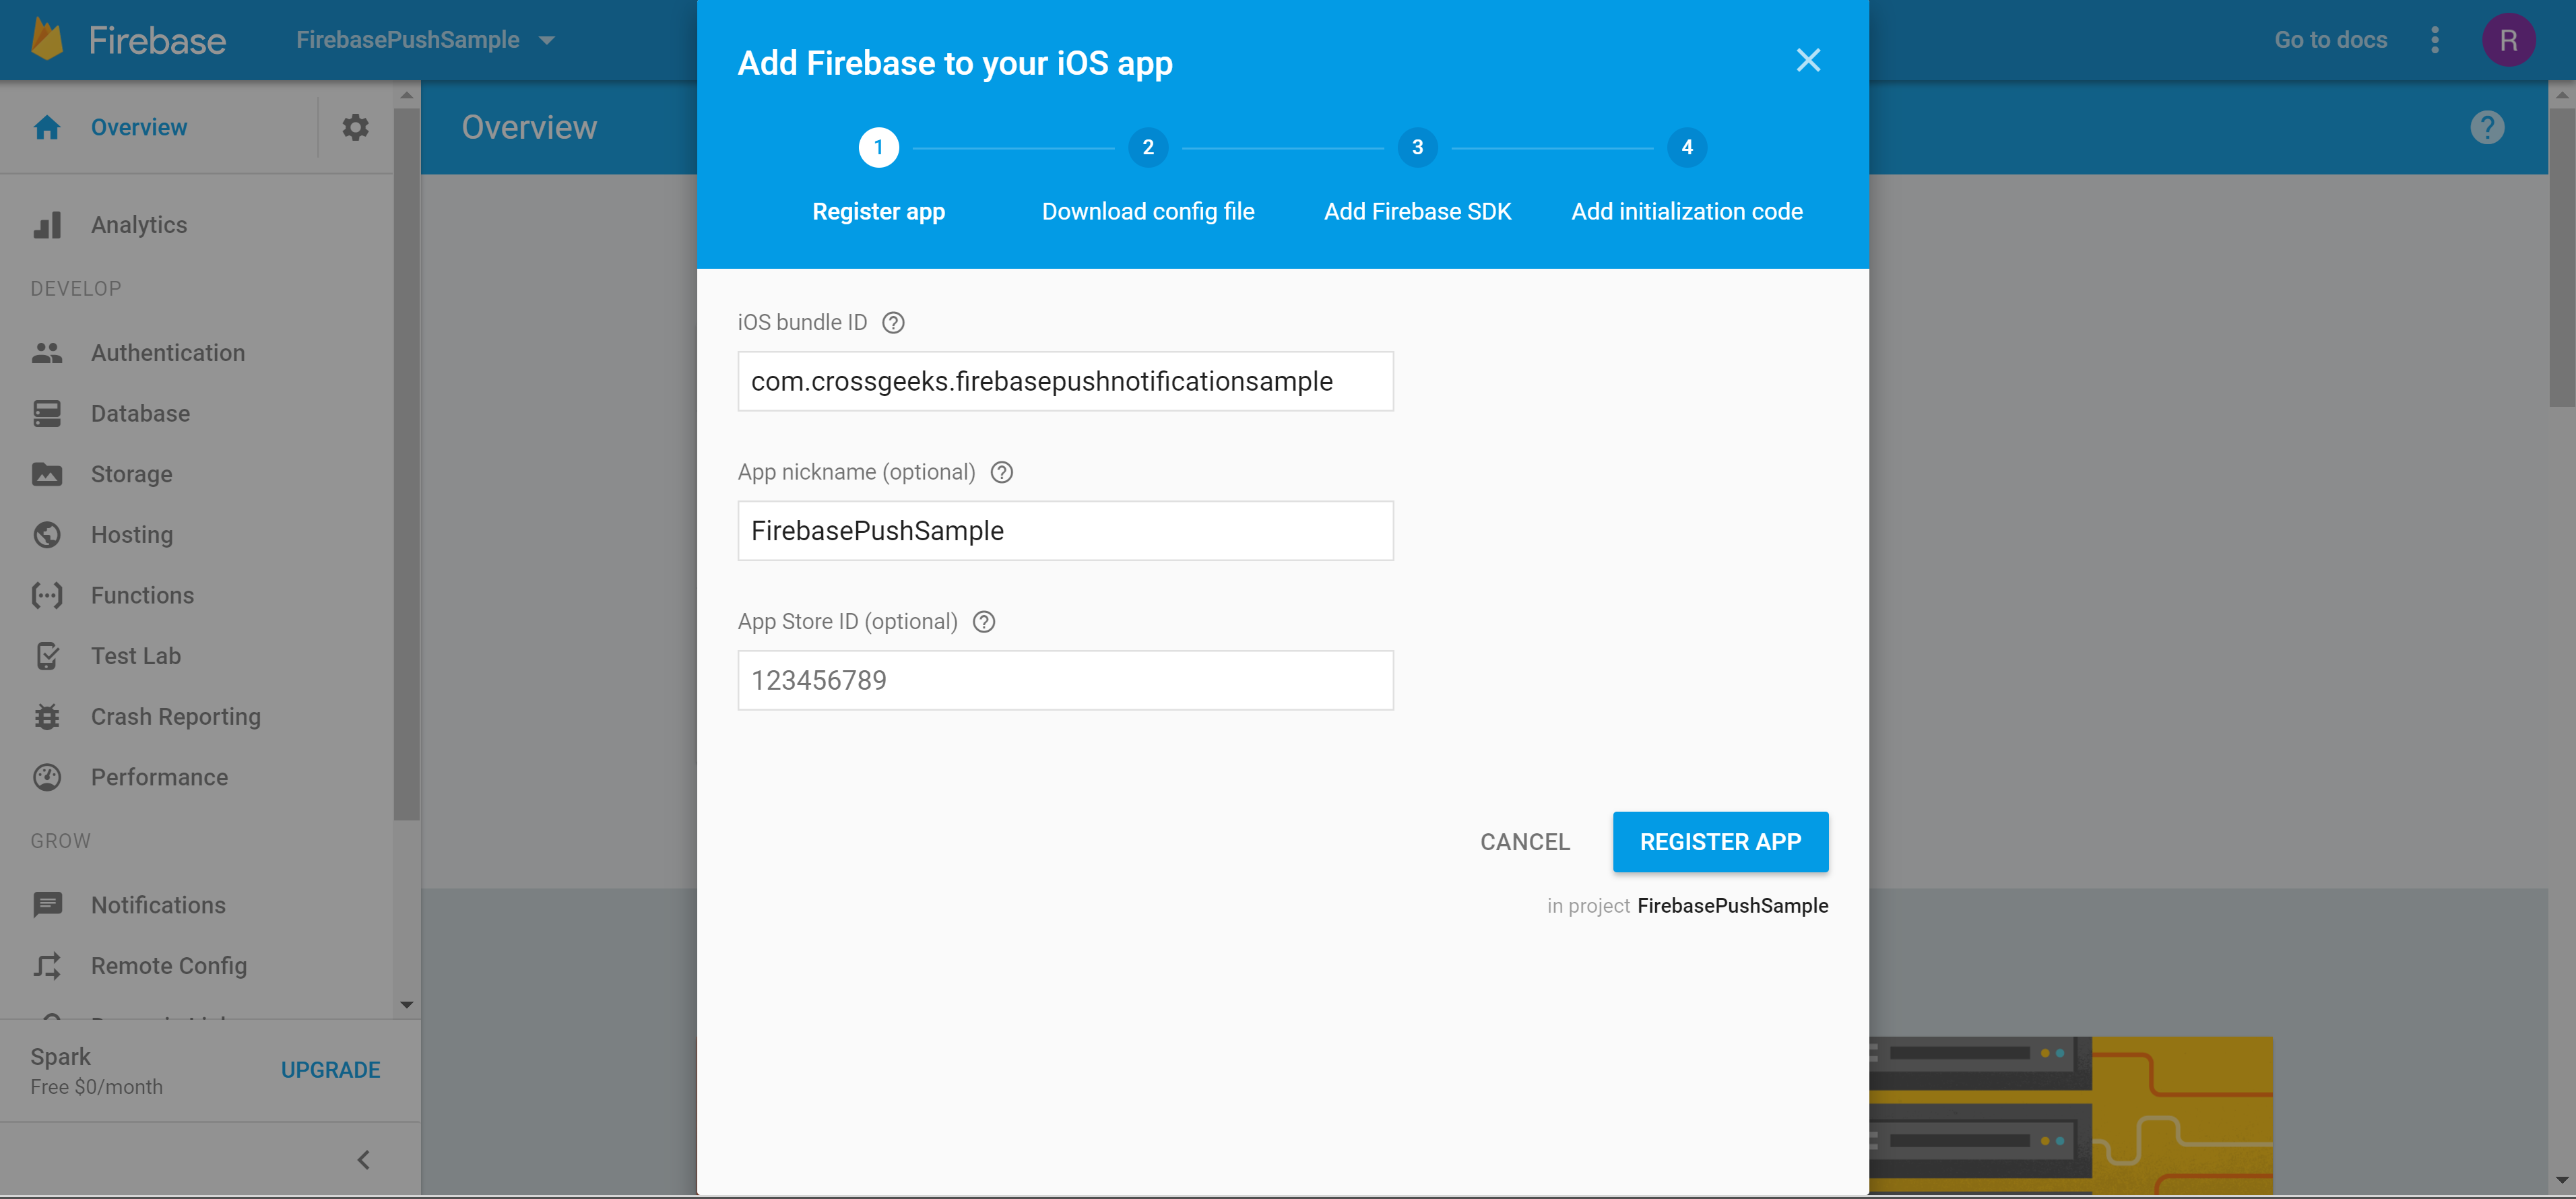
- Download GoogleService-Info.plist
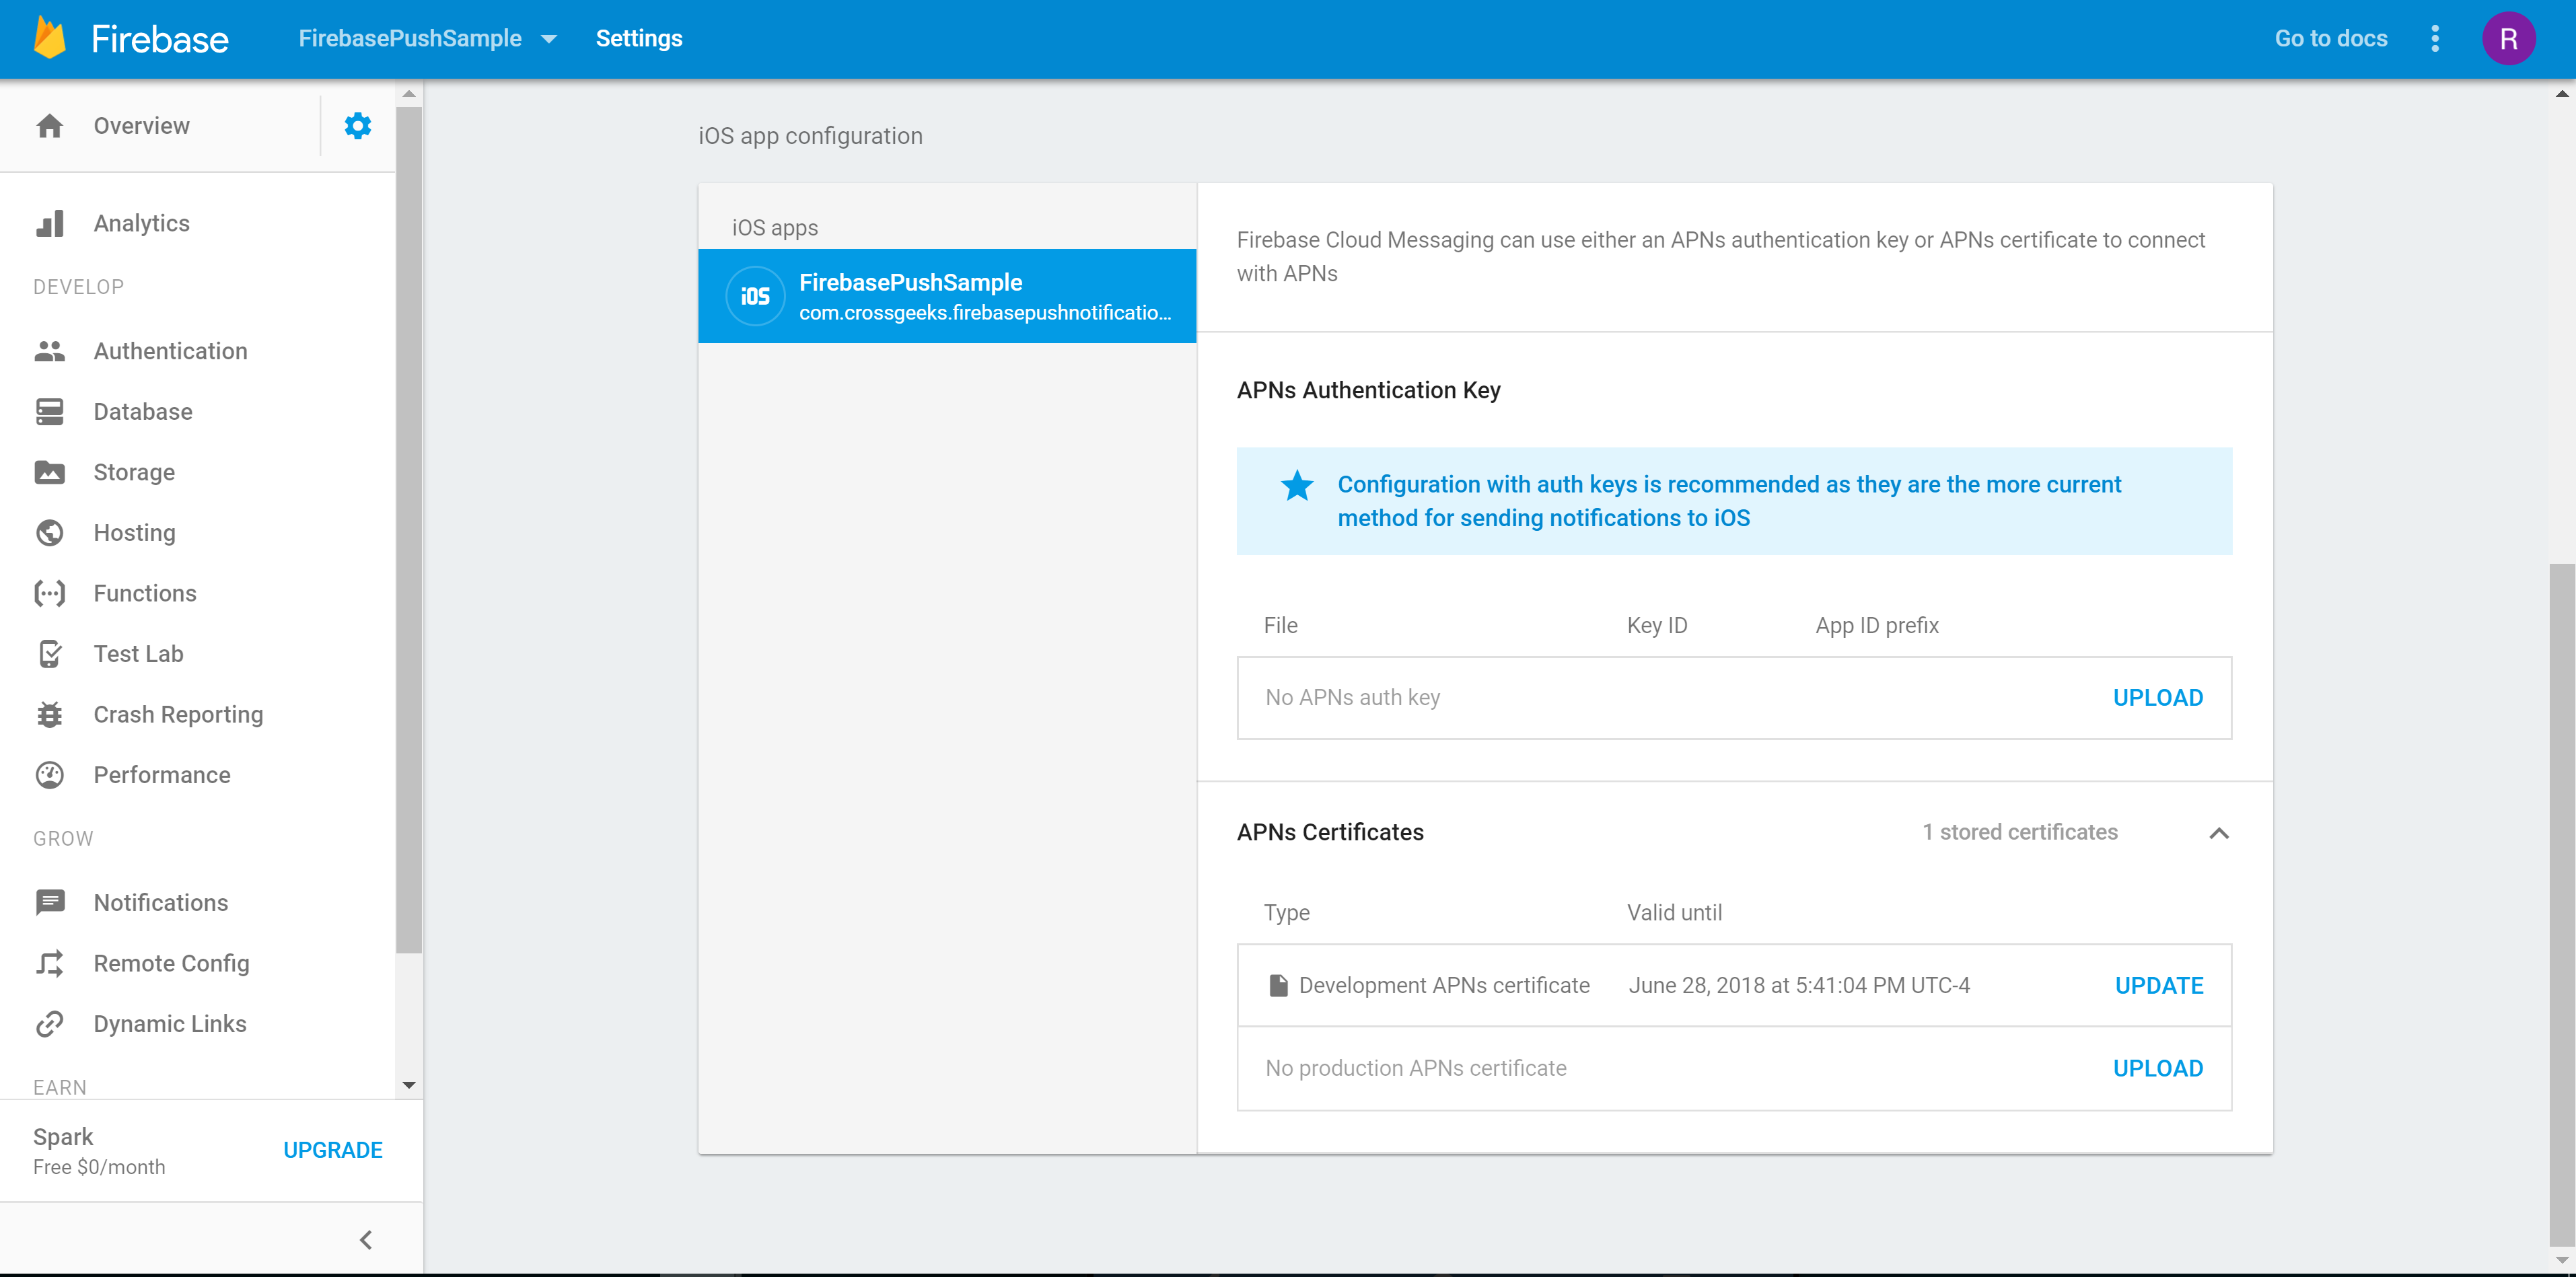
Configure APNs with FCM: https://firebase.google.com/docs/cloud-messaging/ios/certs
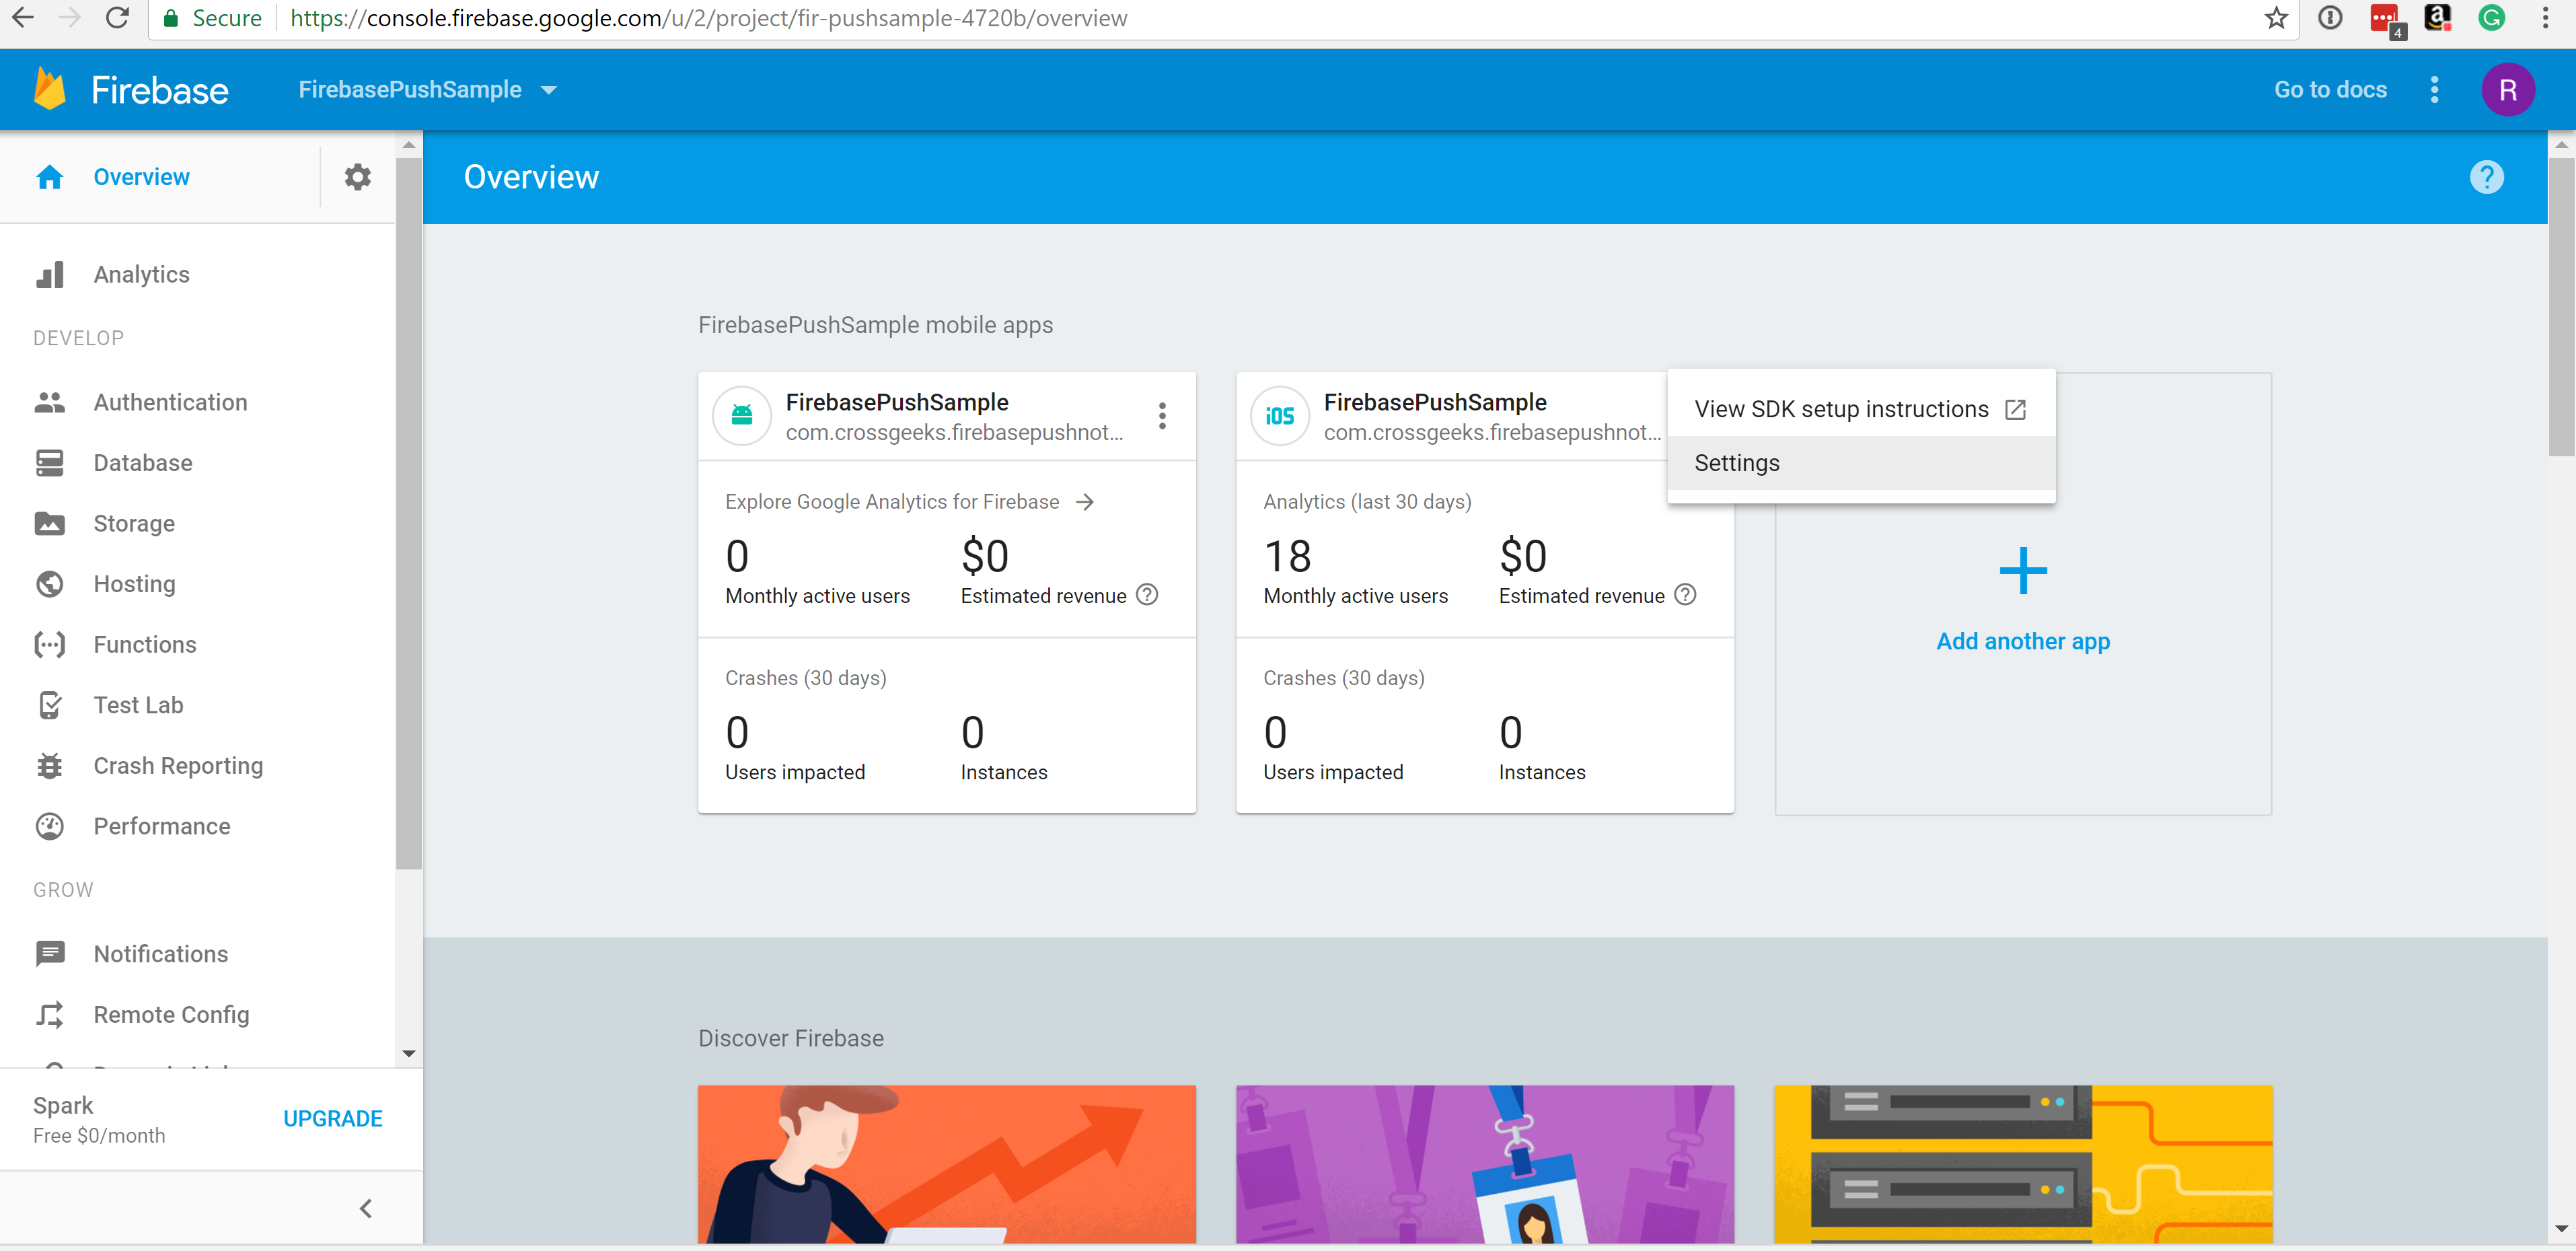
Upload iOS TLS certificate/auth token on Settings -> Cloud Messaging section:
4. Global Settings Configuration
This section explains all global constants and variables in the GlobalSettings.cs . This is application main config file. Simply change the default values to your new config value.
Wordpress site URL :
WooCommerce REST API:
Google Maps Key:
Horizontal List view items: